This will be the main topic of the Tutorials on Feb 20th or Feb 21st.
You do not need to do this in advance (though you are welcome to if you like).
This tutorial requires a Github account
Please make sure you are signed-in to your Github account.
If you do not already have an account you can get a free account at github.com/join
Use Chrome, Edge, or Firefox
Please use Chrome, Edge, or Firefox for this tutorial. Safari seems to have a few bugs when using Codespaces. Chrome seems to work best (Firefox can’t bring up the command pallet with
Cmd-Shift-P)
What is a codespace?
A Github Codespace is a cloud based development environment tied to a Github repo. Everything runs in your browser, including a web-based version of Visual Studio Code.
The repo is automatically checked out for you into a semi-persistent file system called a workspace. A temporary container based virtual machine is spun up to run all the necessary processes and serve up your workspace files.
The workspace and the container together are called a codespace. The codespace is tightly integrated into a web-based version of Visual Studio Code making it as easy to edit and use the remote codespace as developing on your local machine would be.
Creating your codespace
The repo for this tutorial is at:
Workshop Tutorial Codespace Repo
Open that page and look for the green “Code” button.

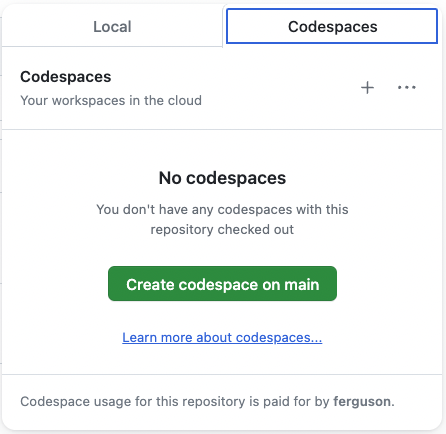
Clicking that button reveals the Code panel with Local and Codespaces tabs. Select the Codespaces tab:

Press the green Create codespace on main button to create your codespace for this tutorial.
A new browser window will open titled “Setting up your codespace”. It will take a couple of minutes. You can click the view logs link to watch it progressing (it might take a few seconds for the link to appear).

Managing your codespaces
Once a codespace has been created it will stick around (for a limited period of time).
Codespaces continue even after the bowser is closed
The remote container running the processes will stay running even after you close your browser tab.
The container will be shut down after being idle for 30 minutes (this is configurable in your Github account settings). The workspace, where your codespace files live, will be retained for 30 days. During this time you can always relaunch the codespace and get access to your workspace and any changes you have made.
Your existing codespaces can all be found at
You can reconnect to, relaunch, or stop your codespaces from that page. You can also delete them when you no longer need them.
Using the codespace
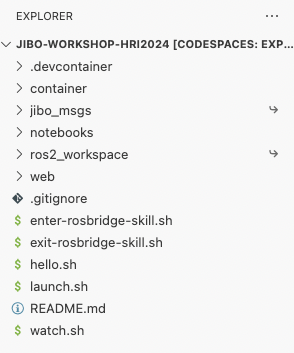
When the codespace creation is finished it will launch a web-based version of Visual Studio Code. The Explorer on the left is used to browse and open / edit the files in the repo.

There is a large section with an open terminal command line connected to the running remote container.

This section has a number of other tabs, the most important of which is the “ports” tab which we will use shortly.
Tip
If you are curious you can view the detailed container creations logs via the Command Pallet by pressing
Cmd-Shift-P(orCtrl-Shift-Pif not on a mac) and typing View Creation Log.
Tip
The Command Pallet is an important part of Visual Studio Code and is usually the quickest way to find and run VSCode functionality (or so says the documentation).
Starting rosbridge and configuring ports
This container has ROS2 installed in it. We will be talking to Jibo via rosbridge. You will need to manually start the ROS2 rosbridge server. In the terminal.
./launch.sh # run the ROS2 rosbridge processWhen you run ./launch.shthe codespace will automatically detect that a process opened port 9090. It will pop up a notification.

Click the Make Public button. Jibo will be connecting to your rosbridge process via that public port.
Tip
If the notification disappears you can pull it back up using the bell icon
in the lower right corner of the browser window.
You can also just ignore the notification and go to the PORTS tab to make it Public (described below).
Now that your rosbridge is running in one terminal, create a second terminal using the “Split Terminal” button  on the right side of the terminal tab bar (or press
 Cmd \, or press Cmd-Shift-P and type Split Terminal).
In the new terminal use the watch.sh script to see the number of clients connected to rosbridge. It will start out at 0 and we will be looking for it to change to 1 when Jibo has successfully connected, once we tell Jibo where to connect to (see below).
./watch.shGetting your rosbridge URL
Now go to the PORTS tab 
Look for port rosbridge (9090). Verify that it says Public. If it is Private you can ctrl-click (right-click on Windows) on the line for that port and use the menu to change the Port Visibility from Private to Public

Now we need to get a copy of the public URL to the port. Click on the port 9090 line to select it and three icons will appear in the “Forwarded Address” column.

Click on the first one  to copy the URL to your clipboard.
The URL will look something like this: https://ubiquitous-journey-j6p4g9qwvcq6jj-9090.app.github.dev/ The url details for your own codespace will be different.
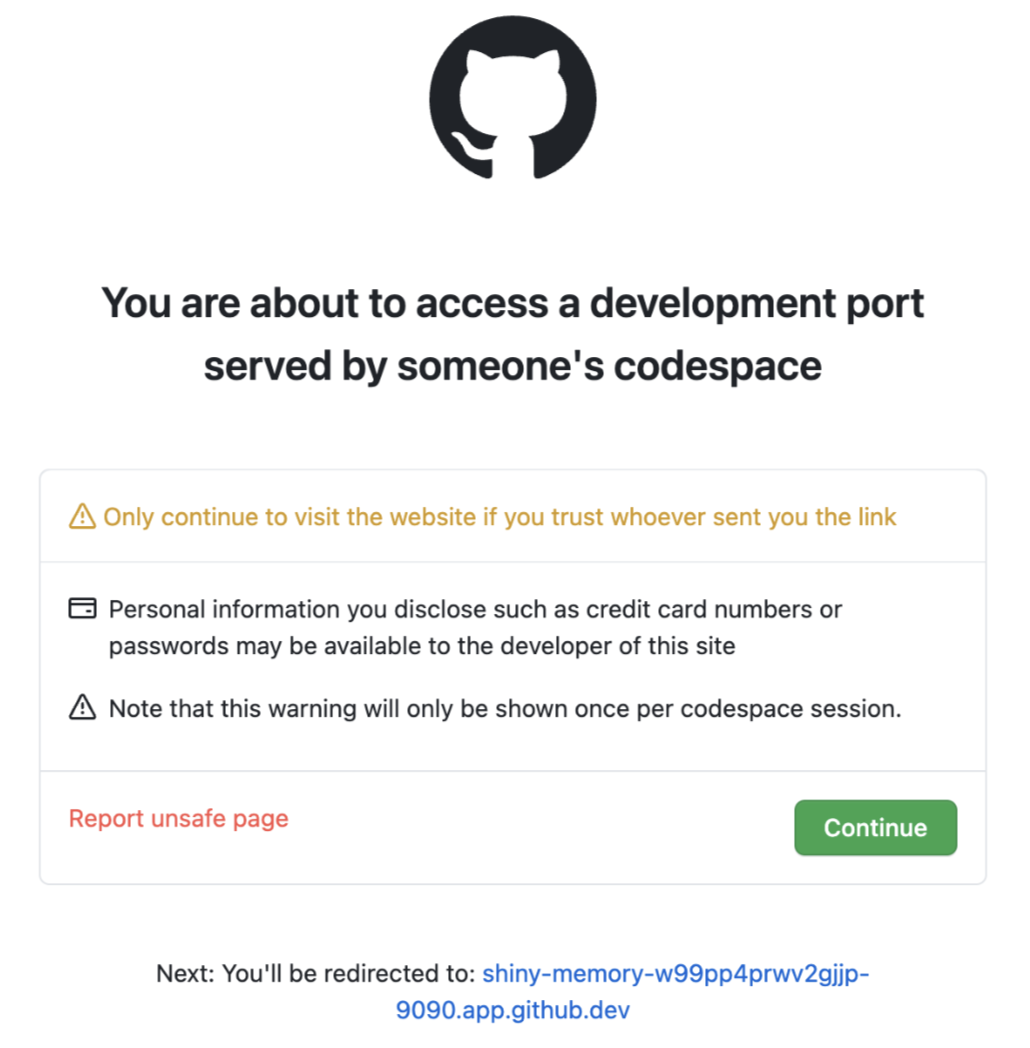
Next open a tab in your browser and paste the URL in. You will probably get a page that looks like this:

Click the Continue button.
That Continue button needs to be pressed before Jibo will be able to connect to rosbridge inside your codespace. If at any time you are having trouble connecting Jibo bring that web page back up and see if that button needs to be pressed.
After pressing Continue the page should look like this:

If you see that message then your codespace is now ready and Jibo should be able to connect! Next we will move on to Connecting Jibo To Your Codespace. But first…
Saving your codespace to your own repo
Your codespace was made from a “template” repository. That means it doesn’t start out with it’s own repo to push changes to.
You might want to save the work you do in this tutorial and refer to it later. You can do this any time before the workspace is deleted (and Github will warn you via email before it is deleted).
Here are instructions for connecting your codespace to your own Github repo: https://docs.github.com/en/codespaces/developing-in-a-codespace/creating-a-codespace-from-a-template#publishing-to-a-repository-on-github
We’d be happy to help you through this process anytime after the tutorial. Just contact us at jibo-workshop@media.mit.edu.